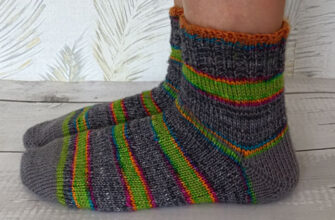
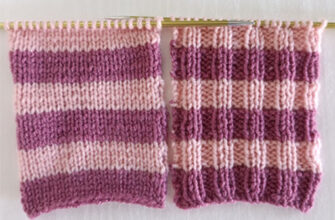
Helical knitting is used to create stripes in which the colours follow one another in sequence, producing a spiral effect. There is no need to twist the yarns together or perform any special techniques—simply knit with one colour and then the next.
Helical Knitting with Two Colours
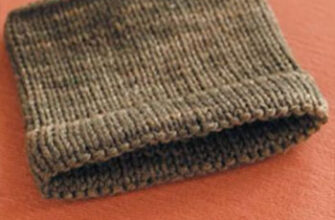
Helical knitting is usually worked in stockinette stitch. In practice, the stripes are often started after a section of ribbing, which, unlike stockinette stitch, does not curl and holds its shape well. Ribbing is commonly used for sock cuffs, mitten cuffs, and hat brims.
To begin, cast on the required number of stitches, divide them evenly among four double-pointed needles, and join for working in the round.
Step-by-Step Instructions
Step 1
After completing the ribbing, knit the stitches on three needles with the main colour, Yarn A. Leave the stitches on the fourth needle unworked.
Step 2
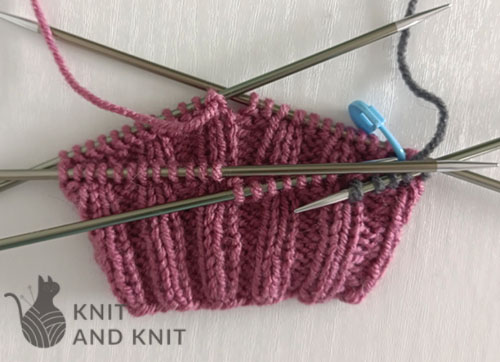
Return to the beginning of the round. Join the contrasting Yarn B at the start of the first needle.
Step 3
Knit the stitches on needles 1 and 2 with Yarn B.
Step 4
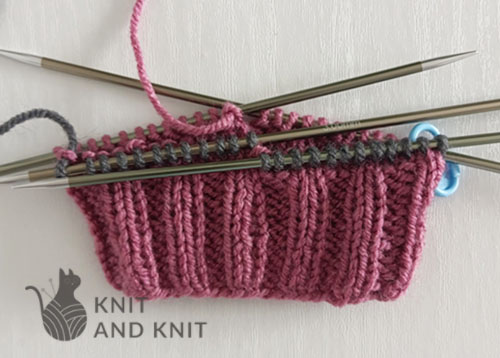
Return to Yarn A and knit the stitches on needles 4 and 1.
Step 5
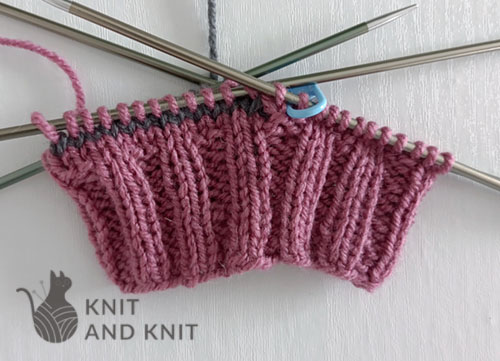
Return to Yarn B and knit the stitches on needles 3 and 4.
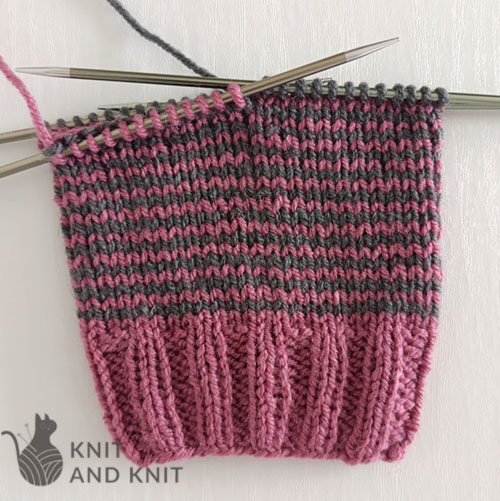
Continue working in this manner, and the stripes will gradually spiral around the fabric, forming smooth, continuous stripes without visible jogs.
As you work, maintain an even tension and avoid twisting the yarns together. Pulling too tightly on the new yarn when changing colours can distort the fabric and make the colour transition more noticeable. Your goal is to create a smooth, uninterrupted spiral.
Helical Knitting with Three Colours
When working helical knitting with three colours, divide all stitches into equal sections according to the number of colours used. As you knit in the round, the colours flow smoothly from one to the next. This technique is often referred to as chasing the colour. You knit with one colour until you reach the next working yarn of a different colour, then continue knitting with that yarn.
The first two colours are used to knit one section each, while the third colour is used to knit two sections consecutively. As a result, the number of stitches worked with the third colour is doubled. In each subsequent round, the longer section will be worked with a different colour.
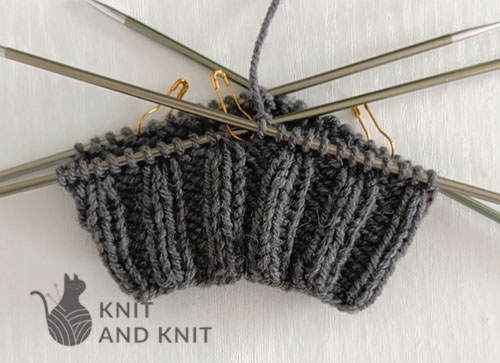
Before beginning, work a short section of ribbing. Then divide the stitches into three equal sections and mark the boundaries with stitch markers.
Step-by-Step Instructions
Step 1
Using grey Yarn A, knit the stitches of the first section.
Step 2
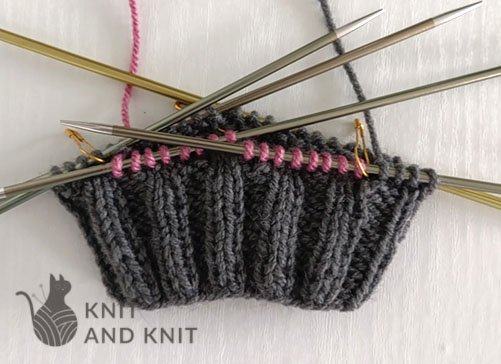
Join dark pink Yarn B and knit the stitches of the second section.
Step 3
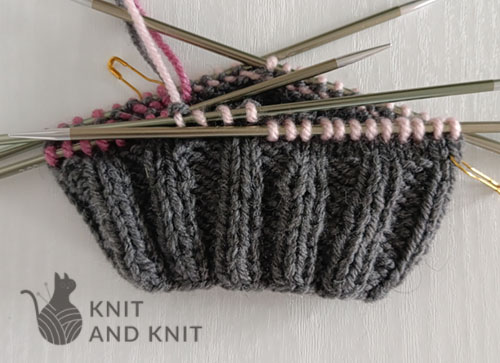
Join pale pink Yarn C and knit first across the third section, then across the first section, which was previously worked with grey Yarn A.
Step 4
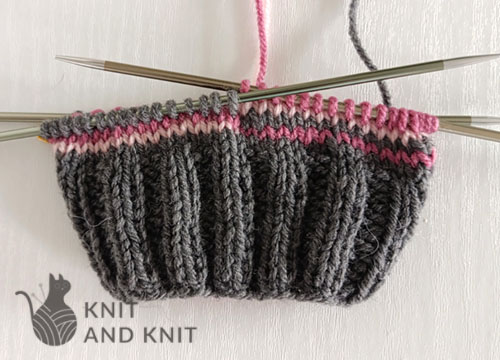
Using grey Yarn A, knit the stitches of the second section.
Step 5
When you reach dark pink Yarn B, use it to knit the longer section consisting of the stitches from the third and first sections.
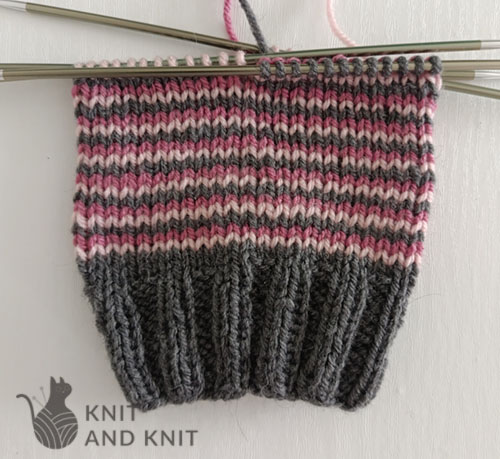
Continue working in this manner until the desired length is reached.
Read our articles:
- Helix Socks on Circular Needles.
- Women’s Flutterby Socks by Cat Bordhi.
- Toe-Up Socks with an Afterthought Heel in Lavender Tones /
This article demonstrates how to create helical stripes using two and three colours of yarn. However, the helical knitting method can easily be adapted for a greater number of colours, since the basic principle remains the same.
Read our article to learn more about knitting stripes made up of multiple rows of the same colour: