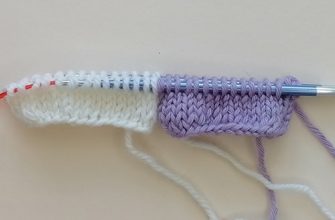
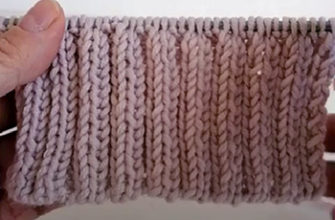
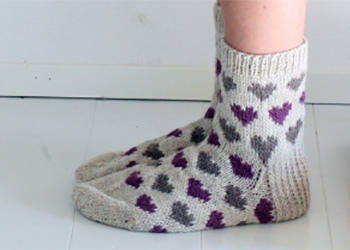
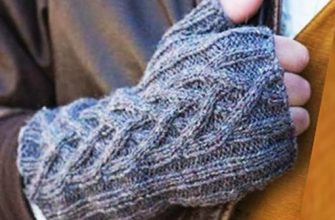
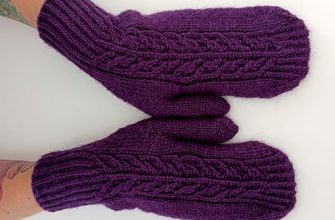
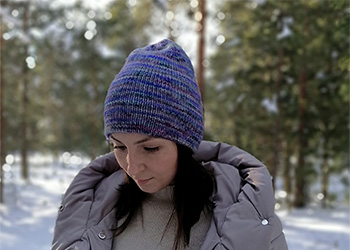
You know how a knit 1, purl 1 rib is nice and stretchy except for that taut line along the cast on edge? The Long Tail Tubular Cast On is designed to fix that problem! Once you try this cast on, you will appreciate how magical it is. The technique is surprisingly simple and very similar to the traditional long tail. It creates a beautiful, elastic edge. The edge is perfect for hat, socks, cuffs.
Watch the video «Long Tail Tubular Cast On»:
Photo instruction photo instruction «Long Tail Tubular Cast On»
Note: If you are an especially tight knitter, try this Tail Tubular Cast On using a needle 1 or 2 sizes larger than the needle you will use for the ribbing. Test your tension out on a gauge swatch to see what’s right for you!
Setting up
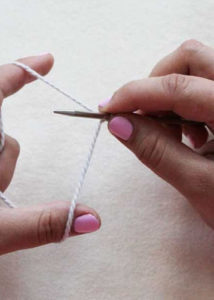
Pull a length of yarn 3 or 4 times the width of what you will knit. Tie a slipknot. Thread the slipknot onto the needle. Holding the needle in your right hand, grasp the yarn and the tail with your left hand.
Casting On a Purl Stitch
Usually, the first cast-on stitch is a purl stitch. Here’s how to work one…
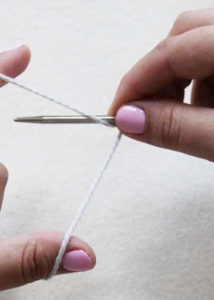
From back to front in a towards-you motion, dip the needle under the yarn coming off your left index finger.
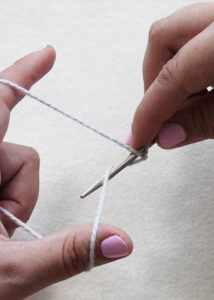
From front to back in an away-from-you motion, grab the yarn coming off your thumb, then pass the needle under the yarn coming off your index finger.
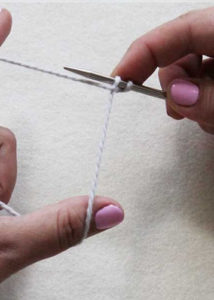
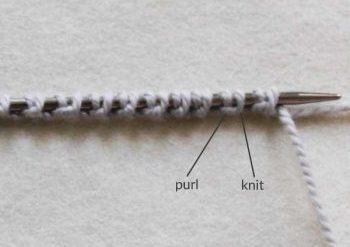
Gently pull to take up the slack. You can tell you’ve cast on a purl stitch because of the small bump below the stitch.
Casting on a knit stitch
Now you will learn to make a knit stitch.
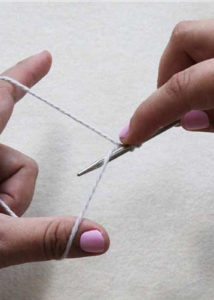
From front to back in an away-from-you motion, grab the yarn coming off your thumb.
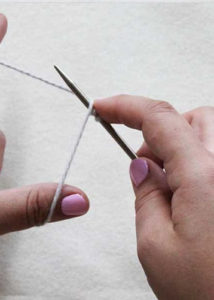
From back to front in a towards-you motion, grab the yarn coming off your index finger and pass the needle under the yarn coming off your thumb.
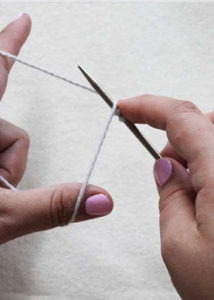
Gently pull to take up the slack. The stitch you just cast on is a knit stitch. You can tell it is a knit stitch because it doesn’t have a bump below it.
Continue casting on
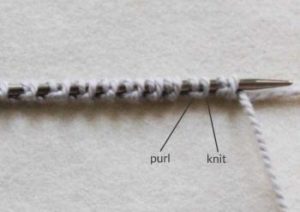
Repeat the above steps, making alternating purl and knit stitches, until you have cast on the correct number of stitches. Some patterns might ask you to start with a knit stitch after the slip knot, but most will start with a purl as shown above. And remember, as with any cast on, the slip stitch is the first stitch of your cast-on row.
When you’ve cast on the required number of stitches, twist the tail around the working yarn once or twice and go on to the foundation rows.
Foundation rows
Now you will work two foundation rows. Whether you’re making a hat in the round or a flat scarf, these two foundation rows are always worked flat. Find the foundation rows below that apply to your pattern.
An even number of cast-on stitches, starting with a purl stitch after the slip knot
Foundation Row 1: *K1 through the back loop, slip 1 with yarn in front (wyif). Repeat from * to end of row.
Foundation Row 2: *K1, slip 1 wyif, repeat from * to end of row.
Tail Tubular Cast On stitches, starting with a knit stitch after the slip knot
Foundation Row 1: *Slip 1 with yarn in front (wyif), k1 through the back loop. Repeat from * to end of row.
Foundation Row 2: *Slip 1 wyif, k1, repeat from * to end of row.
An odd number of cast on stitches, starting with a purl stitch after the slip knot
Foundation Row 1: *Slip 1 with yarn in front (wyif), k1 through the back loop. Repeat from * to last stitch, slip 1 wyif.
Foundation Row 2: *K1, slip 1 wyif. Repeat from* to last stitch, k1.
An odd number of cast on stitches, starting with a purl stitch after the slip knot
Foundation Row 1: *K1 through the back loop (tbl), slip 1 (wyif). Repeat from * to last stitch, k1 tbl.
Foundation Row 2 :*Slip 1 with yarn in front (wyif), k1. Repeat from * to last stitch, slip 1 wyif.
Continue to pattern Tail Tubular Cast On
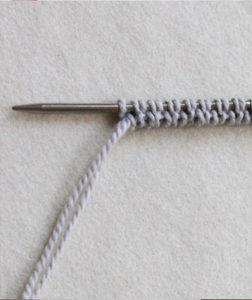
Your cast on is complete! Some patterns may have you work a third foundation row to set up for 2×2 rib or something more complicated. In most cases, you’ll be ready to continue to the rest of your pattern by following one of the two instructions below.
If working in the round
Without turning the work, transfer all stitches to the circular needles you will use for the ribbing. With the working needle in your right hand. Place a marker on the right needle and join to work in the round. Being careful not to twist the stitches.
If working flat
Turn the work and continue to work in regular 1×1 rib.
Finishing
When you weave in the ends, use cast on tail to sew together the two sides of the cast-on edge.
Read our articles:

